Events in the Ultrax app can be created and managed by coaches and athletes who have the required permissions. To find out more about everything you can do with Ultrax events, continue reading this chapter.
Create, Edit or Delete an Event
To create a new event, follow these steps:
1. Click on Calendar in the sidebar. A calendar view of all events will be shown.
2. a) Click on Add New and select Event. A pop-up window for event creation will appear.
2. b) Click on a specific time slot in the calendar. A pop-up window for event creation will appear.
3. At the top of the pop-up window, select the type of event you’re creating.
4. Enter all information for your event, such as event title, time, and participating teams or athletes. If you wish to make this a recurring event, refer to the Create a Recurring Event section.
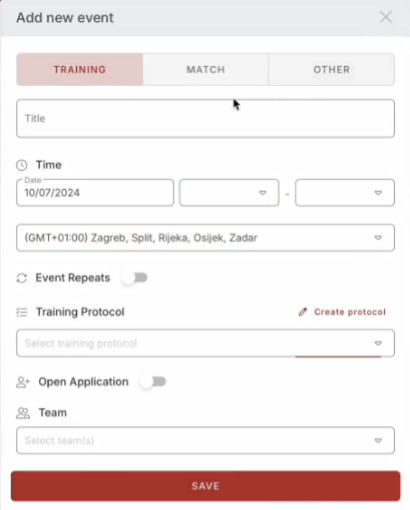
5. Click on Save once you’re finished.
You can edit the existing events’ information:
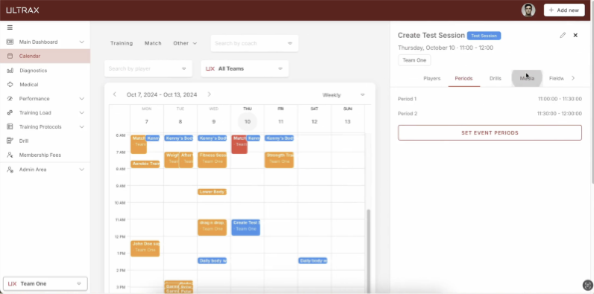
1. Click on Calendar in the sidebar. A calendar view of all events will be shown.
2. Click on the specific event in the calendar view. A new window will open on the right side of the screen.
3. Click on the Edit icon in the upper right corner of the window.
4. Change the desired information.
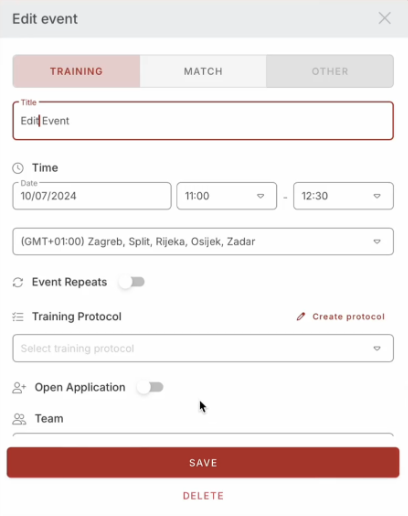
5. Click on Save at the bottom of the pop-up window once you’re finished.
To delete an existing event, follow these steps:
1. Click on Calendar in the sidebar. A calendar view of all events will be shown.
2. Click on the specific event in the calendar view. A new window will open on the right side of the screen.
3. Click on the Edit icon in the upper right corner of the window.
4. Click on Delete on the bottom of the pop-up window and confirm your choice.
Event Location
Coaches can now add a location when creating or editing events:
1. To add a Location, either create a new event or select an existing one. In the location field, enter the desired location and click Save. The location will then be automatically recorded with the event.

Create a Recurring Event
You don’t have to create multiple Ultrax events for recurring events, such as training sessions which always take place at the same time of the week. For this purpose, you can create recurring events:
1. Click on Calendar in the sidebar. A calendar view of all events will be shown.
2. a) Click on Add New and select Event. A pop-up window for event creation will appear.
2. b) Click on a specific time slot in the calendar. A pop-up window for event creation will appear.
3. Enter all information for your event, such as event title, time, and participating teams or athletes.
4. Turn on the Create a recurring event toggle and enter the repeat information.
5. Click on Save once you’re finished.
Edit or Delete a Recurring Event
To edit a single existing recurring event, follow these steps:
1. Click on Calendar in the sidebar. A calendar view of all events will be shown.
2. Click on a specific recurring event in the calendar view. A new window will open on the right side of the screen.
3. Click on the Edit icon in the upper right corner of the window.
4. Change all the desired information in the pop-up window.
5. Click on Save once you’re finished. A pop-up window will open which will prompt you to choose where the changes will be applied.
6. Choose the Only this event option if you wish to apply changes to this specific event, or This and all future events if you wish to apply these changes to all events, and click Submit.
You can also delete a single existing recurring event:
1. Click on Calendar in the sidebar. A calendar view of all events will be shown.
2. Click on a specific recurring event in the calendar view. A new window will open on the right side of the screen.
3. Click on the Edit icon in the upper right corner of the window.
4. Click on Delete at the bottom of the pop-up window. A new pop-up window will open which will prompt you to choose where the changes will be applied.
5. Choose the Only this event option if you wish to apply changes to this specific event, or This and all future events if you wish to apply these changes to all events, and click Submit.
Download Event Preparation PDF
With just a click, users can download a detailed PDF that includes all key event information: event name, timing, teams, coaches, players, location, and notes. For events created with Training Builder, they also get structured training programs, while Ultrax Drill events include drills with names, descriptions, and images. These PDFs are automatically generated and updated whenever event details change, so users simply need to download the latest version for easy sharing or printing:
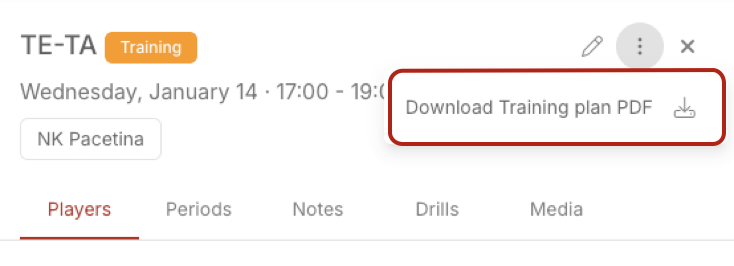
1. Click on an event in the calendar.
2. In the newly opened event details section, click on the three dots next to the event name to see all options.
3. Click on Download training plan PDF (this title can be different depending on the event type). You can now save this file to your device and share it with the rest of the team.
Tournaments
Coaches can now add tournaments to the weekly calendar, including additional details such as tournament duration, description, participating players, and assigned coaches:
1. Navigate to the Add New section and choose Tournament.
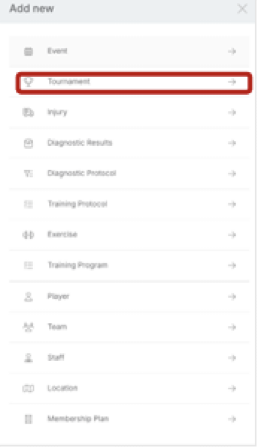
2. Fill in the required fields with the tournament details (e.g., duration, description, players, and coaches).
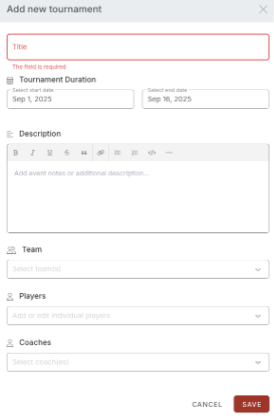
3. Once all information is entered, click Save. The tournament will automatically be displayed in the Calendar section.
Mail Notification
If coaches disable reports in the Ultrax web settings, no reports will be generated. Instead, it is recommended that coaches mute email notifications in their email application. This way, reports will continue to be generated and accessible for download, without causing unnecessary notification interruptions. (If you feel that Ultrax is sending too many emails).
Add and Manage Event Media Files
To add media files to a specific event, follow these steps:
1. Click on Calendar in the sidebar. A calendar view of all events will be shown.
2. Click on a specific event in the calendar view. A new window will open on the right side of the screen.
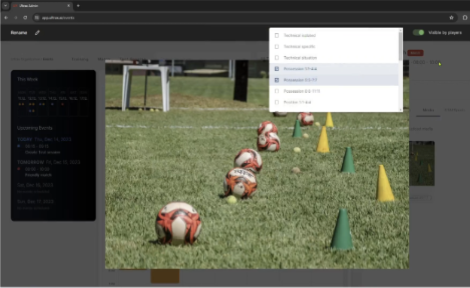
3. Inside the newly opened window, click on Media in the toolbar, and then click on Browse.
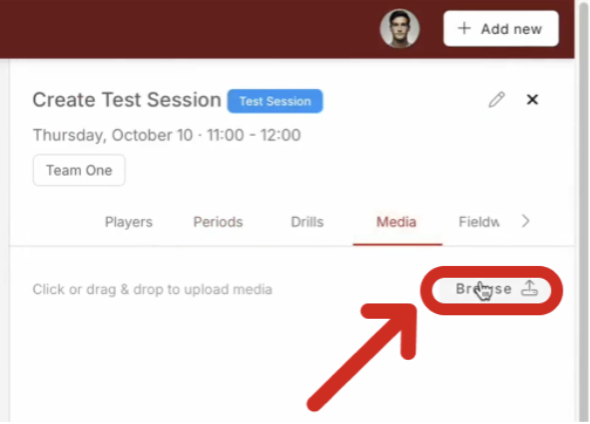
4. Click on the media files you wish to upload from your computer.
You can edit the existing media files:
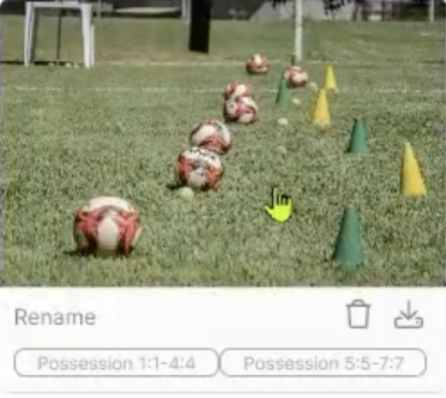
1. Inside the Media tab in the event toolbar, click on a specific media file.
2. You can change the file name in the upper left corner of the screen.

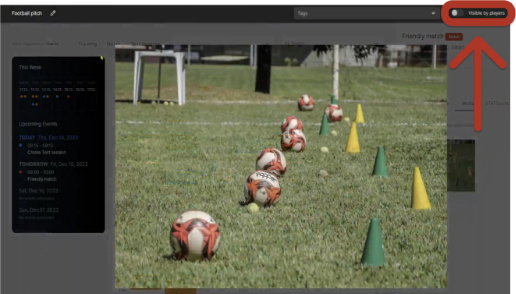
3. You can make the media file visible to athletes that are participating in the event by turning on the toggle in the upper right corner of the screen.
4. You can add tags to the media by using the drop-down menu at the top of the screen.
You can delete existing media files:
1. Inside the Media tab in the event toolbar, click on a specific media file.
2. Click on the Delete icon in the upper right corner of the screen and confirm your choice.
3. Inside the Media tab in the event toolbar, hover over the specific media file, click on the Delete icon and confirm your choice.
Add and Manage an Athlete’s Media Files
You can assign media files to specific athletes participating in an event:
1. Click on Calendar in the sidebar. A calendar view of all events will be shown.
2. Click on a specific event in the calendar view. A new window will open on the right side of the screen.

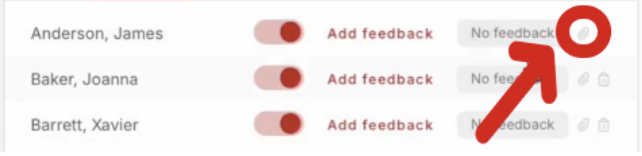
3. Inside the newly opened window, click on Players in the toolbar, and then click on the Media icon next to a specific athlete’s name.
4. Inside the pop-up window, click on Browse.
5. Click on the media files you wish to upload from your computer.
You can manage the existing media files in the same way you would manage the event media files (refer to the Add and Manage Event Media Files section). When you turn on the Visible by athletes toggle, it will make the media visible only to the specific athlete it is assigned to.
Add and Manage Event and Athlete Notes
To add notes for a specific event, follow these steps:
1. Click on Calendar in the sidebar. A calendar view of all events will be shown.
2. Click on a specific event in the calendar view. A new window will open on the right side of the screen.
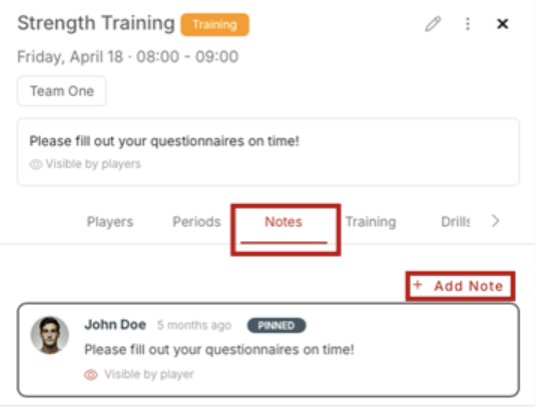
3. Click on Notes in the toolbar.
4. Click on Add Notes and enter notes for the event. You can turn on the Visible to players toggle to make these notes visible to athletes participating in the event.
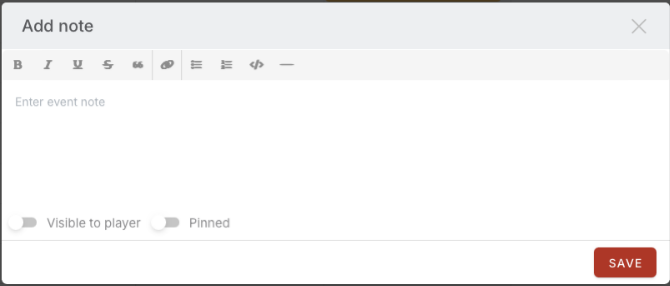
5. Click on Save once you’re finished.
You can also assign notes to a specific athlete participating in the event:
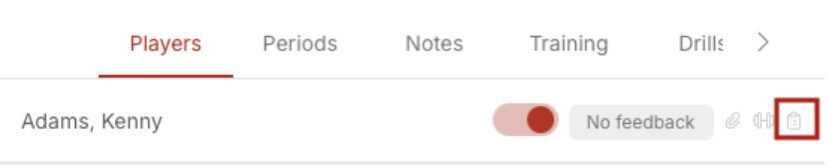
1. Inside the Players tab in the event toolbar, click on the Notes icon next to a specific athlete’s name.
2. Click on Notes and enter the notes for this athlete. You can turn on the Visible to athlete toggle to make these notes visible to the athlete.
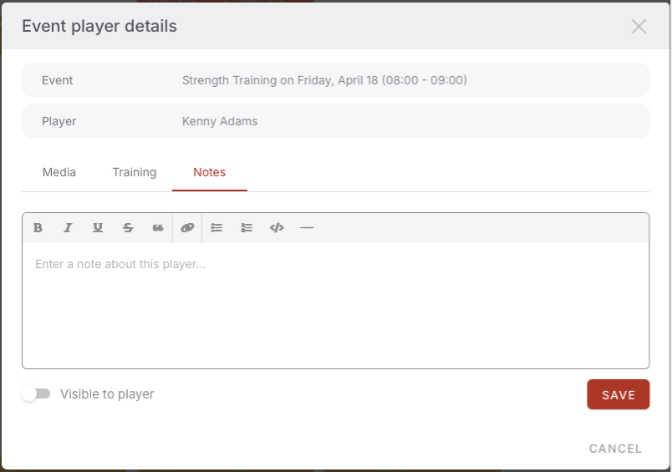
3. Click on Save once you’re finished.
Team Admin Role
Administrators of the platform can now grant staff members permission to manage players within the teams they are assigned to:
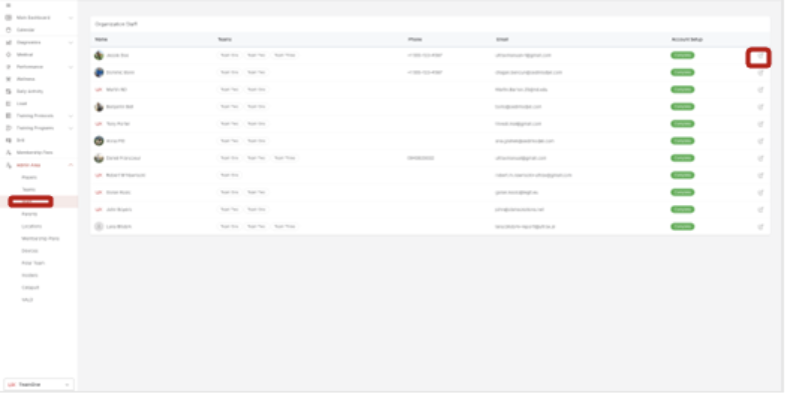
1. Navigate to the Admin area and select Staff Members. Locate the relevant coach, and click the Edit Coach icon.
2. In the menu, choose Access Control.
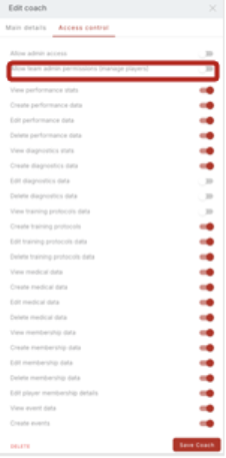
3. From there, select Allow Team Admin Permissions to grant the necessary access.